Blocks & Layout
Structure your lessons with headings, lists, collapsible sections, and layout columns.
Everything in the Lex Editor is a block. Each paragraph, heading, image, exercise, or widget is an individual block that you can select, move, transform, and configure. Understanding blocks is key to structuring effective lessons.
The Lesson Blocks Drawer
Most blocks are added from the Lesson blocks drawer. It opens from a slim rail at the side of the editor rather than from a large tab, so it takes almost no room when you are not using it.
Inside the drawer:
- A Blocks / Generate with AI switch sits at the top. Blocks inserts an empty block you fill in yourself; Generate with AI hands the same kind of section to the AI to draft — see AI Features.
- Under the switch is a row of the blocks you used most recently, so repeat work is one click away.
- Everything else is grouped by category and shown as small icon tiles. Click a group heading to collapse or expand it.
Inserting a block gives you visible confirmation: the view scrolls to the insert point and the new block briefly highlights, so you always know where it landed.
| Group | Some of what is inside |
|---|---|
| Text | paragraphs, headings, callouts |
| Lists | bullet and numbered lists, checklists |
| Layout | column layouts, collapsible sections, individual work, page breaks |
| Media | images, expandable images (/expandableimages), audio, video, whiteboard, and PDF documents |
| Learning Widgets | exercise widgets |
| Games | game-based widgets |
| Brain Breaks | brain-break widgets |
| Exams | exam-preset tasks, when your school has exam preparation turned on |

A few things worth knowing about how the drawer behaves:
- Press
Escapeto close it. Focus returns to the rail you opened it from. - On narrower screens (under approximately 900px), the structure rail collapses automatically. Click the Open lesson panel burger button in the top bar to access the panel as a slide-over drawer while preserving full canvas width for editing.
Headings
Headings organize your lesson into scannable sections. The editor supports three heading levels (H1–H3).
| Level | Text shortcut | Typical use |
|---|---|---|
| Heading 1 | # | Main lesson title or presentation slide boundary |
| Heading 2 | ## | Major sections (Vocabulary, Grammar, Practice) |
| Heading 3 | ### | Subsections within a major section |
How to Create a Heading
Option 1: Text shortcut -- Type # (hash followed by a space) at the start of a new line. Use ## for H2, and ### for H3.
Option 2: Block type dropdown -- Click the block type selector at the left end of the toolbar (it shows "Normal" by default). Select the heading level you want (H1–H3).
Option 3: Slash command -- Type / and search for "heading" to insert H1, H2, or H3.
Start with H2 for main sections (H1 is typically reserved for the lesson title) and use H3 for subsections. This creates a clear document outline in the sidebar.
Headings H1, H2, and H3 support auto-numbering. The editor automatically assigns hierarchical numbers (e.g., 1., 1.1, 1.2) to help visually structure your lesson content.
Lists
The editor supports three types of lists.
Ordered Lists (Numbered)
Use for sequences, step-by-step instructions, or ranked items.
- Click the ordered list button in the toolbar, or type
1.at the start of a line - Press Enter to add the next item
- Press Enter on an empty item to end the list
Unordered Lists (Bullets)
Use for collections where order does not matter.
- Click the bullet list button, or type
-at the start of a line - Same behavior as ordered lists
Checklists
Use for to-do items, review lists, or self-assessment.
- Click the checklist button in the toolbar, or type
[ ]at the start of a line - Each item gets a checkbox that students (or teachers) can click to check off
- Useful for lesson preparation checklists or student self-evaluation
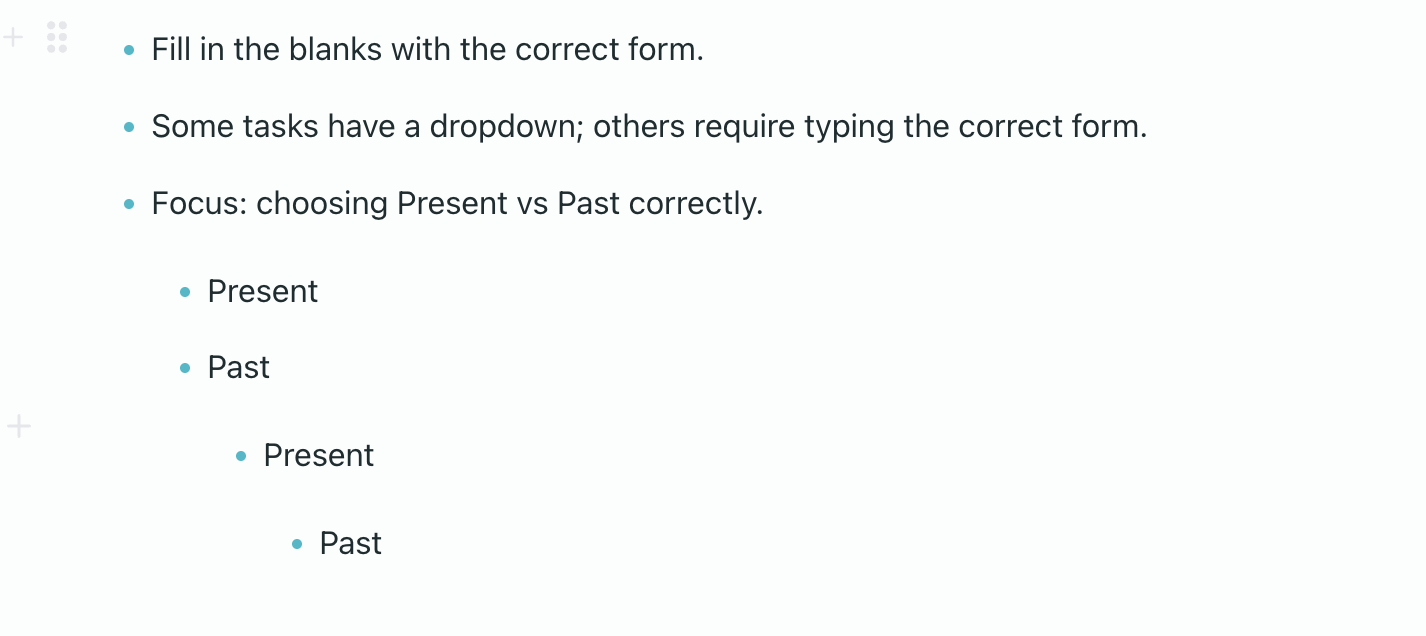
Nesting Lists
Indent list items to create nested sub-lists:
- Press
Tabto indent (create a sub-item) - Press
Shift + Tabto outdent (move back up a level) - Nesting works for all three list types
Callouts
Callouts highlight key explanations, vocabulary spotlights, cultural notes, questions, rules, or citations. They replace traditional blockquotes with flexible, rich-content containers.
Inserting a Callout
You can insert a Callout using any of the following methods:
- Toolbar block type dropdown -- Click the block type selector at the left of the toolbar and choose Callout.
- Slash command -- Type
/calloutor/noteon a new line and press Enter. - Block Picker -- Open the Lesson blocks drawer and select Callout under the Text category.
- Keyboard shortcut -- Press
Cmd+Shift+Q(macOS) orCtrl+Shift+Q(Windows/Linux). - Markdown shortcut -- Type
>(greater-than followed by a space) at the start of an empty line.
Appearance and Styles
When you select a Callout, a floating options bar appears above it with visual controls:
- Background Color -- Choose between five distinct backgrounds: Theme (matches your course palette), Neutral, Blue, Green, or Rose.
- Note Style -- Select a semantic style preset:
info(informational note),warning(cautionary point),question(reflection prompt),exam(exam-specific tip),children(playful styling for young learners), orquote(traditional styled quotation). - Alignment -- Position the callout on the page:
left,centered, orright. - Size -- Set the width of the container:
full(standard document width),mid(medium callout box), orsmall(compact card).
Editing Inside Callouts
Callouts can contain multiple paragraphs, lists, subheadings, and inline exercises:
- Continue below -- Choose Continue below from the block options menu, or press
Enteron an empty line at the bottom of the Callout to exit and start a standard paragraph beneath it. - Remove callout formatting -- Choose Remove callout formatting from the options menu, or press
Backspaceat the very start of the first line inside the Callout to unwrap its content back into normal document blocks.
Horizontal Rules
Insert a horizontal line to visually separate sections within a lesson.
Create a rule: Type --- on an empty line, or use the slash command /hr.
Collapsible Sections
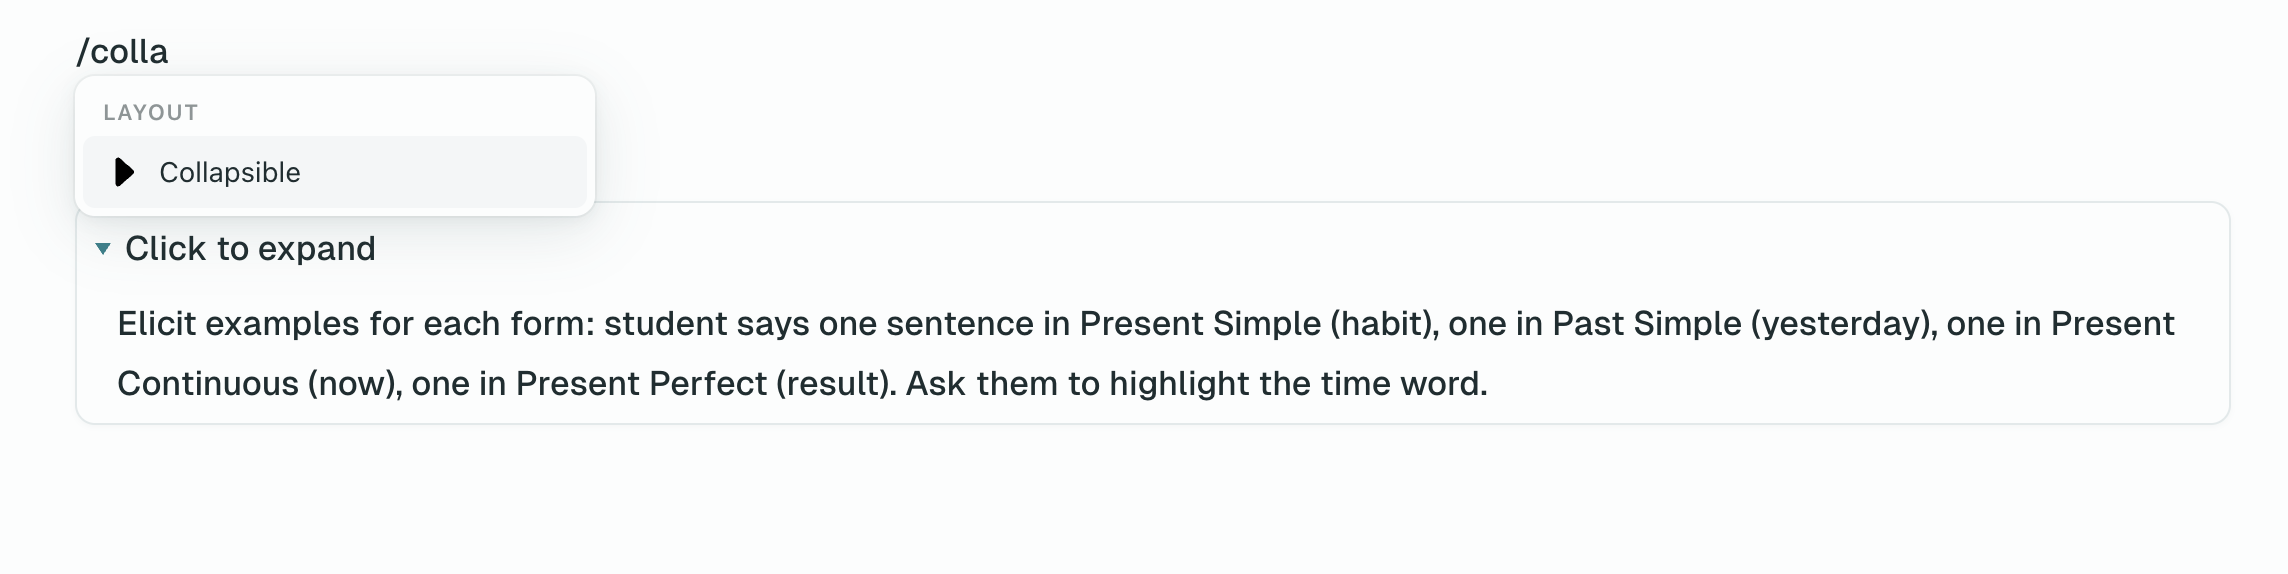
Collapsible sections let you hide content behind a clickable header. Students click to expand and see the hidden content.
Type /collapsible or find "Collapsible Section" in the Insert menu. Click the title area to type a descriptive header (e.g., "Click to see the answer"), then add any content inside the collapsible body -- text, images, exercises, or other blocks.
Common use cases for collapsible sections:
- Answer keys -- hide correct answers so students can check after attempting
- Additional examples -- provide more examples for students who need extra practice
- Grammar notes -- optional deeper explanations for advanced students
- Optional readings -- supplementary material that is not required
- Hints -- progressive hints that students can reveal one at a time
Layout Columns
Multi-column layouts let you place content side by side, which is useful for comparisons, bilingual text, or vocabulary tables.
Creating Columns
Insert a Column Layout
Type /columns or select "Layout" from the Insert menu.
Choose a Layout
Select the number of columns:
- 2 columns -- equal width, 50/50
- 3 columns -- equal width, 33/33/33
- 2 columns (wide/narrow) -- 2/3 + 1/3 split
Add Content
Click inside each column and add your content. Each column acts as a mini editor where you can add text, images, lists, or even exercises.
Use cases for columns:
- Original text on the left, translation on the right
- Grammar rule on the left, examples on the right
- Vocabulary word and image side by side
- Comparing two language constructions
On mobile devices, columns stack vertically to maintain readability. Keep this in mind when designing layouts -- make sure the content still makes sense when read top-to-bottom.
Individual Work
The Individual work block is a staff-only container block that holds an exercise or task template and provides an isolated workspace for each student. Instead of all students typing into the same shared document simultaneously, each learner receives their own independent copy to complete.
Inserting Individual Work
Individual work is available to Teachers, Academic leads, Operations admins, and Owners outside of exams and nested containers:
- Slash command -- Type
/individual-workon an empty line and press Enter. - Block Picker -- Open the Lesson blocks drawer and select Individual work under the Layout category.
- Wrapping existing blocks -- Select one or more blocks on the canvas before inserting Individual work to automatically wrap those blocks inside the task template.
Behavior in Live Group Classes
During live classes with multiple connected students, the block provides dedicated real-time orchestration tools:
- Start Button -- When students join the lesson, the block remains in a ready state. Click Start to release the task to all active students in the room.
- Student Switcher & Progress Counters -- A switcher at the top of the block lists each participating student along with a live indicator showing who is working, who has completed the task, and who has not started.
- Private Peek Mode -- Teachers can click any student's name in the switcher to privately inspect their active answers and typing without interrupting the student or revealing their work to peers. While in Peek mode, the block displays a dashed border and a prominent "The class does not see this" badge to confirm that the student's work is not visible to classmates.
- Show to Class Spotlight -- Click Show to class to pin one student's work for the entire group to see. In this spotlight view, only the teacher and that student author retain editing permissions; all other students see the work in read-only mode, making it safe for peer review or group correction.
- Start Again for Everyone -- If you want the class to retry the activity, select Start again for everyone from the block header's
⋯overflow menu to reset all individual student copies. - Structure Protections -- Once a session is started and student work exists, moving or deleting the container is locked to prevent accidental data loss.
Behavior in Homework, Self-Study, and 1:1 Classes
In self-study lessons, assigned homework, and 1:1 tutoring sessions, the block adapts automatically:
- An individual copy is created for the student the moment they open the lesson, with no Start button required.
- Students complete their work independently at their own pace.
- Teachers reviewing homework or teaching 1:1 view the student's submission directly inside the block container.
Drag-and-Drop Reordering
Every block in the editor can be reordered by dragging.
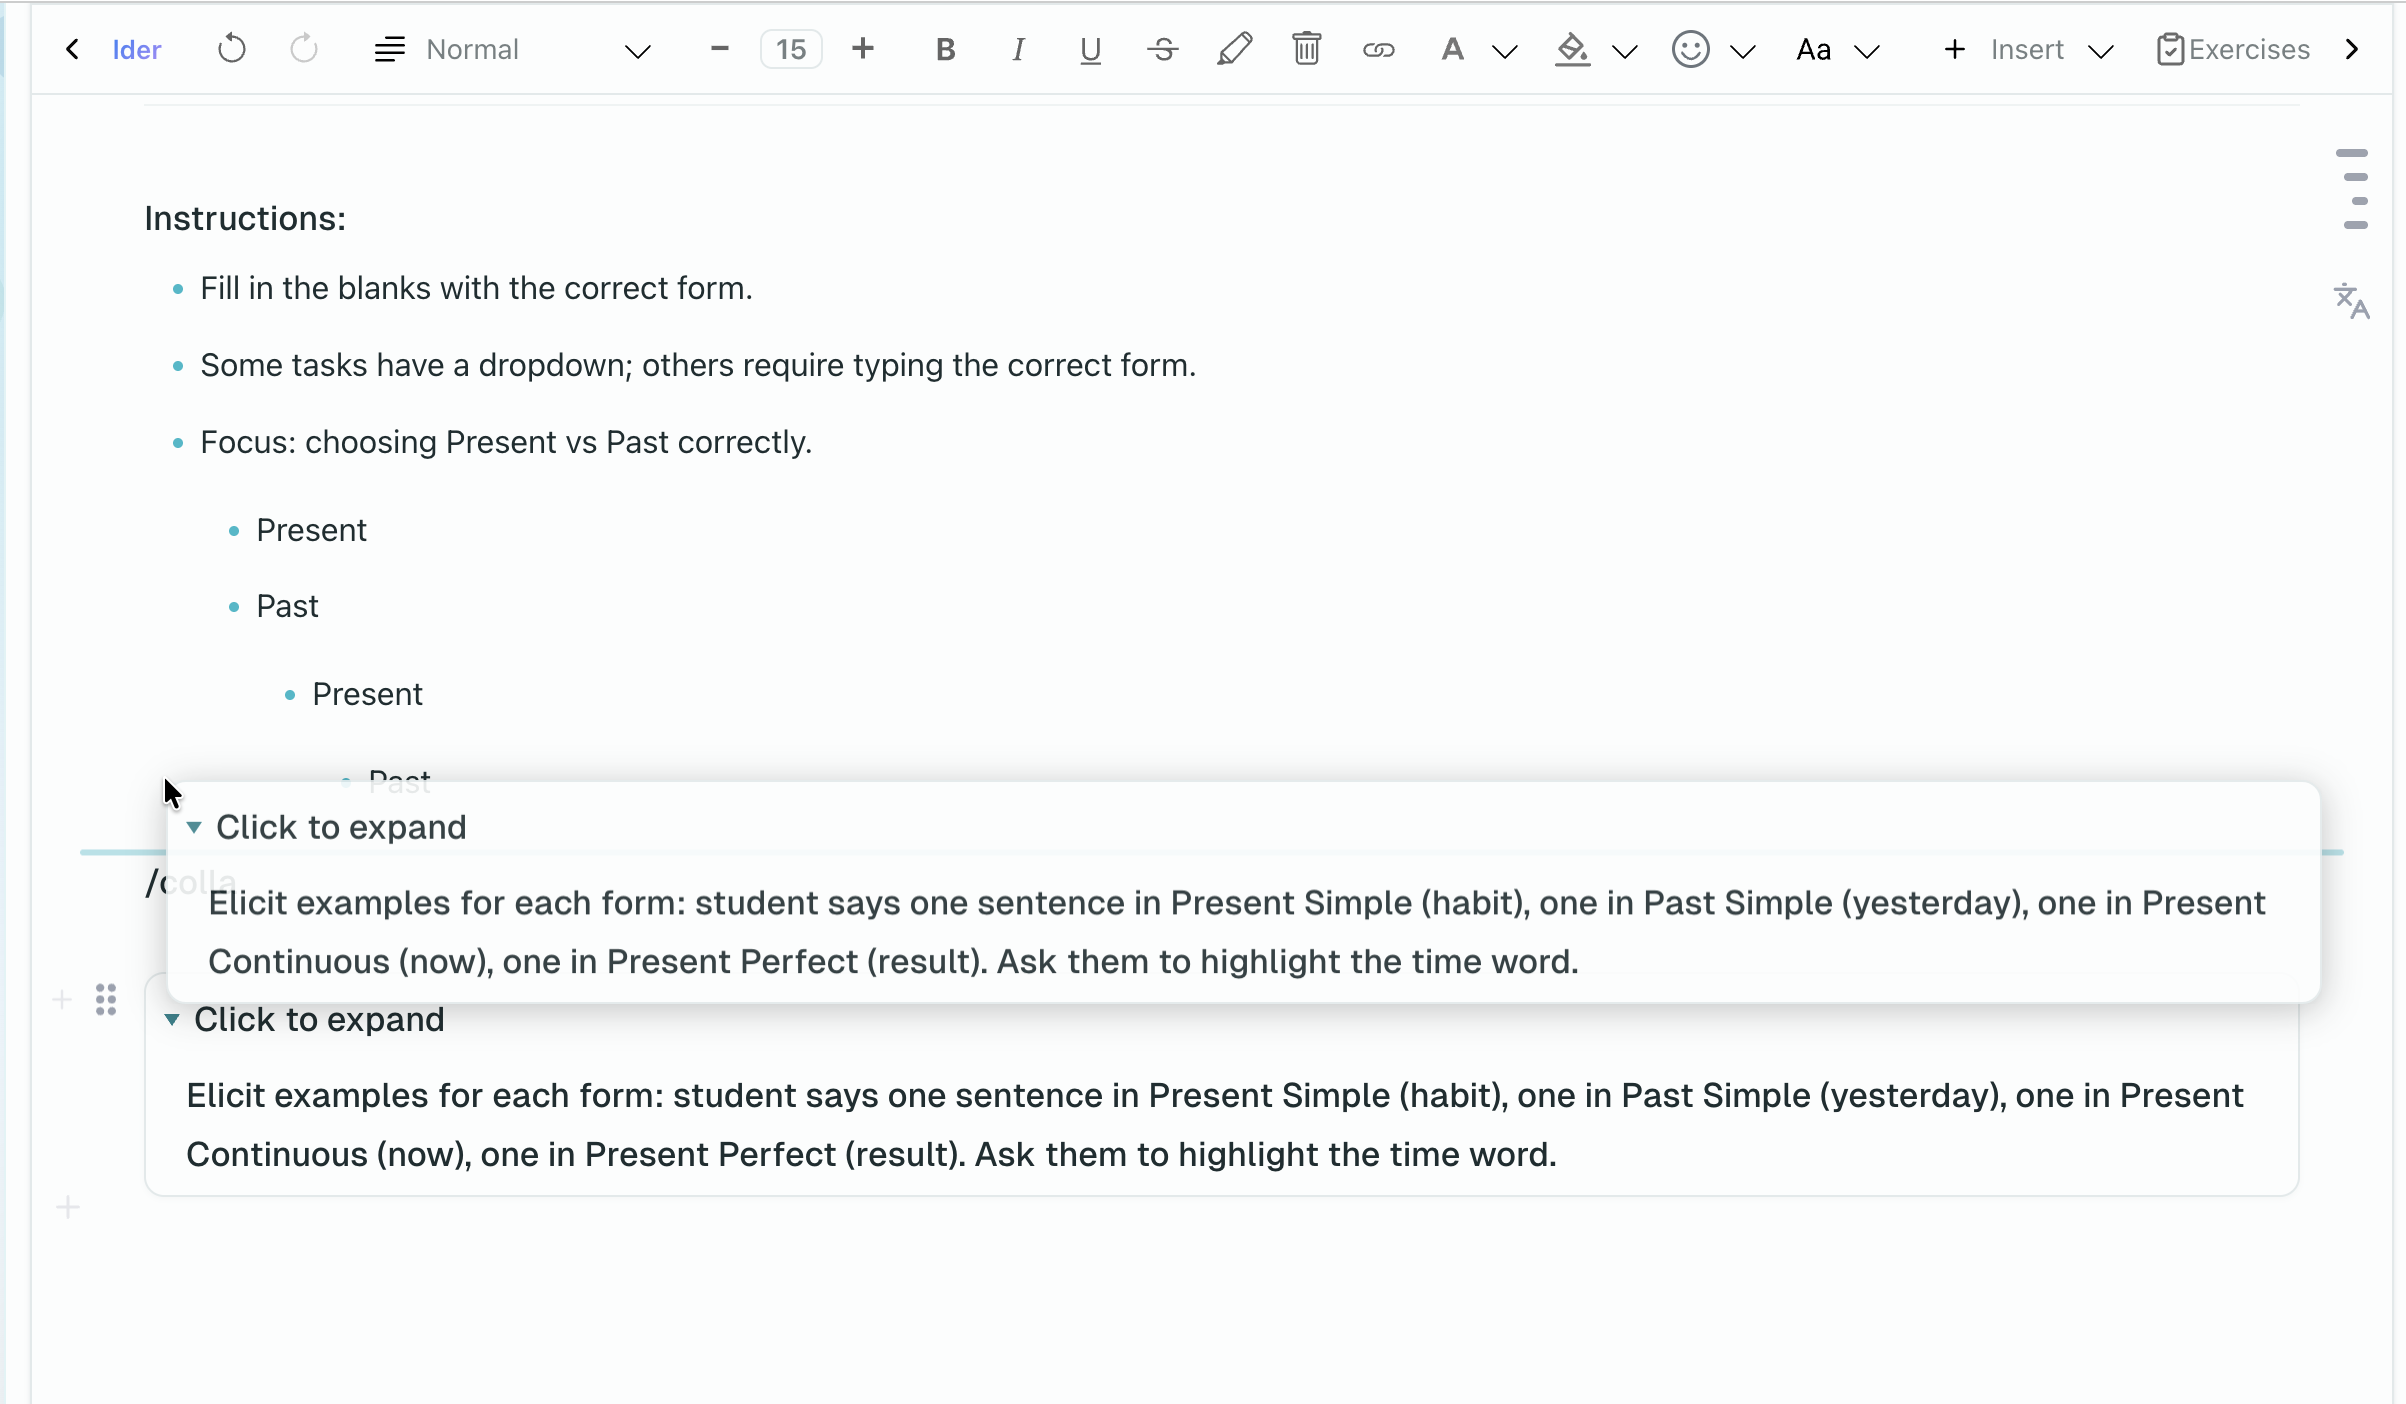
- Hover to the left of any block
- A six-dot drag handle icon appears
- Click and hold the handle
- Drag the block up or down to its new position
- Release to drop
This works for all block types: paragraphs, headings, images, exercises, widgets, and even multi-column layouts.
Focus Students on a Block During a Live Lesson
During a live lesson, the block drag handle can also be used as a focus tool. Double-click the block drag handle to scroll the teacher and all students to that block and briefly highlight it.
Use this when you want everyone to look at the same explanation, exercise, image, or widget without asking students to scroll manually.

Nesting Blocks Inside Other Blocks
You can also drop a block inside another container block. The drop indicator highlights the container's inner area instead of the gap between blocks — release to nest the block inside.
Containers that accept nested blocks are column layouts, collapsible sections, and individual work blocks. Other blocks (paragraphs, tables, exercises, widgets) remain leaf blocks: they can be reordered and moved around, but blocks cannot be dropped inside them.
This lets you build richer layouts without falling back to a multi-column wrapper for every grouping — for example, an image and caption inside a collapsible "Click for hint" section, or a pronunciation widget inside one column of a two-column compare-and-contrast layout.

Selecting a Range of Blocks in the Gutter
To select multiple contiguous blocks at once:
- Click the six-dot grip handle in the gutter beside the first block.
- Hold
Shiftand click the grip handle of the last block in the desired range. - All intermediate blocks are selected together.
Once selected, you can copy the entire block range (Ctrl+C / Cmd+C) or drag them as a group. This makes it fast to copy a series of exercises or an entire Step to paste onto the Lesson Board or into homework packages.
Page Breaks
Page breaks mark where content should split when printing or exporting to PDF. They also serve as visual separators in the editor.
Insert a page break: Type /pagebreak or find it in the Insert menu.
Page breaks appear as a dashed line across the editor. Students do not see them during normal viewing -- they only affect print and PDF output.
Transforming Blocks
You can change a block from one type to another without retyping the content.
Using the Slash Command
- Click at the very start of a block
- Type
/to open the command menu - Select the new block type (e.g., change a paragraph to a heading)
You can also select the top "Help" item in the slash menu ("Open a list of what you can type or press in the editor.") to open the editor help panel.
Editor Help Panel & Line Shortcuts
If you ever need a quick reminder of how to type or format blocks, you can open the "How to use the editor" panel anytime:
- Click the
?Help icon at the right end of the top editor toolbar. - Click the
?Help chip at the end of the floating Lesson Toolbar Pill (which keeps the pill open while you read). - Type
/to open the slash menu and select the top "Help" item.
The panel includes a search bar ("Search by word or characters") and lists all start-of-line triggers: Heading 1 (`# `), Heading 2 (`## `), Bulleted list (`- `), Numbered list (`1. `), Checklist (`[ ] `), Callout (`> `), and Divider (`---`).
Using the Block Type Dropdown
- Click inside the block
- Use the block type selector in the toolbar
- Choose the new type
Common transformations:
- Paragraph to heading (or vice versa)
- Normal text to callout
- Ordered list to unordered list
- Text to checklist
Frequently Asked Questions
Can I nest collapsible sections inside each other?
A collapsible section can hold most other blocks (text, images, exercises, widgets), but you cannot nest a collapsible section inside another collapsible. For staged reveals, use multiple collapsible sections in sequence.
How many columns can I use?
The editor supports 2 or 3 column layouts. For more complex arrangements, use multiple column blocks stacked vertically.
Can I add exercises inside columns?
Yes. Each column functions as a mini editor. You can add any block type inside a column, including exercises, images, and even other structural elements.
Do page breaks affect how students see the lesson?
No. Page breaks only affect print and PDF output. During normal online viewing, students see a continuous document.