Create a Course
Start a new course, choose the right creation path, and set up your first unit before adding lessons.
Who this is for
Teachers creating a new course for the first time.
What this page answers
- How do I start a new course?
- Which fields should I fill before adding lessons?
- Should I start from an existing course or from scratch?
Prerequisites
- access to Materials (
/platform/materials) in the sidebar
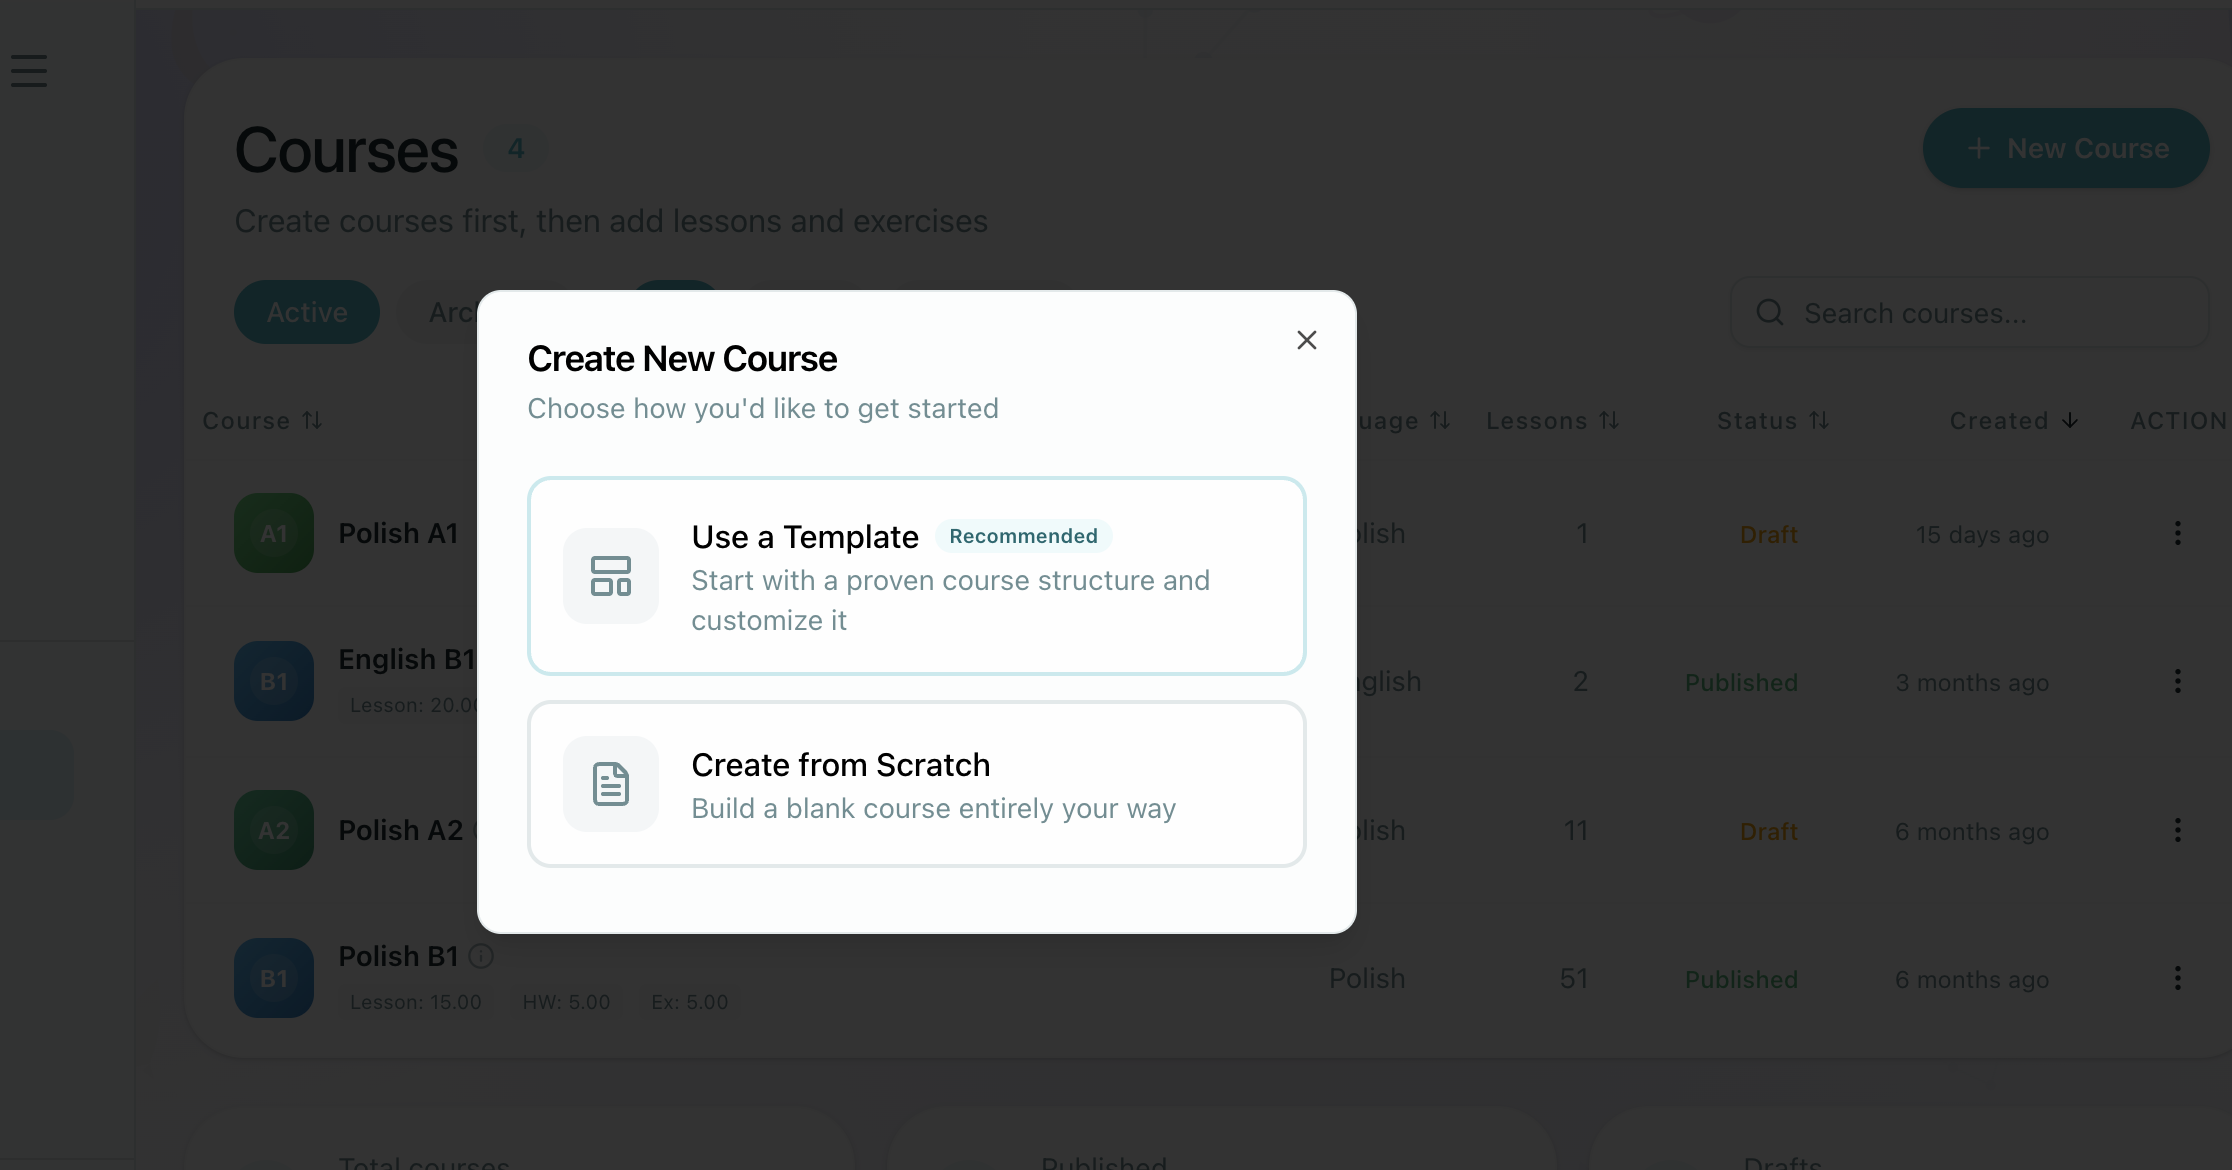
1. Choose how to start
Most teachers start in one of two ways:
- From Existing Course when the structure already matches what you need — browse your own courses or public courses shared by other schools, then create an editable copy with all lessons included
- From Scratch when you want full control from the beginning
2. Fill in the course details
Start by choosing the Teaching Subject:
- Language Learning: For language acquisition courses. Requires selecting the Target Language (supporting 15 teaching languages including English, Spanish, French, German, Italian, Portuguese, Dutch, Russian, Bulgarian, Ukrainian, Polish, Czech, Turkish, Arabic, and Mandarin Chinese with Simplified and Traditional scripts, Putonghua pronunciation, Pinyin answer evaluation, and character-based writing counts) and a standardized CEFR Level (A1 to C2).
- Mathematics: For arithmetic, algebra, geometry, and STEM courses. Omits CEFR levels and target languages, allowing teachers to specify a free-text Grade Level (e.g., "Grade 4", "Secondary Algebra") and the Instruction Language used for teaching explanations.
The core fields are:
- Course Name
- Teaching Subject (Language Learning or Mathematics)
- Target Language & CEFR Level (for languages) OR Grade Level & Instruction Language (for math)
- Description
Optional supporting fields (such as learning objectives, prerequisites, and Default widget theme—which defaults to "Same as the school" or can be overridden to any of the 21 built-in widget themes, including Modern as a clean flat option) are neatly tucked into collapsible sections to keep the form clean.
Course Artwork: Covers & Hero Wallpapers
You can visually customize how your course appears to students:
- Square Cover Art: Upload an image or generate one with AI by clicking "Generate Cover".
- 8 Artistic Styles: Click the style selector next to Generate to pick your visual style—such as Watercolour, Storybook, Flat Vector, Diorama, Paper Cut, Risograph, or Photographic. The platform provides visual thumbnail previews for each style, and your school may also provide custom school styles.
- Hero Header Wallpaper: In addition to square covers, courses support wide hero banners. You can pick a solid pastel tone, a preset wallpaper, or upload a custom wide banner image to style the course storefront and student learning view.

3. Active immediately with its first unit
Courses are active and ready to use immediately upon creation—there is no Draft/Published toggle on courses or course lessons. Every new course starts with its first Unit (e.g., Unit 1) ready, so you can immediately begin adding lessons and organizing them into visual chapters.