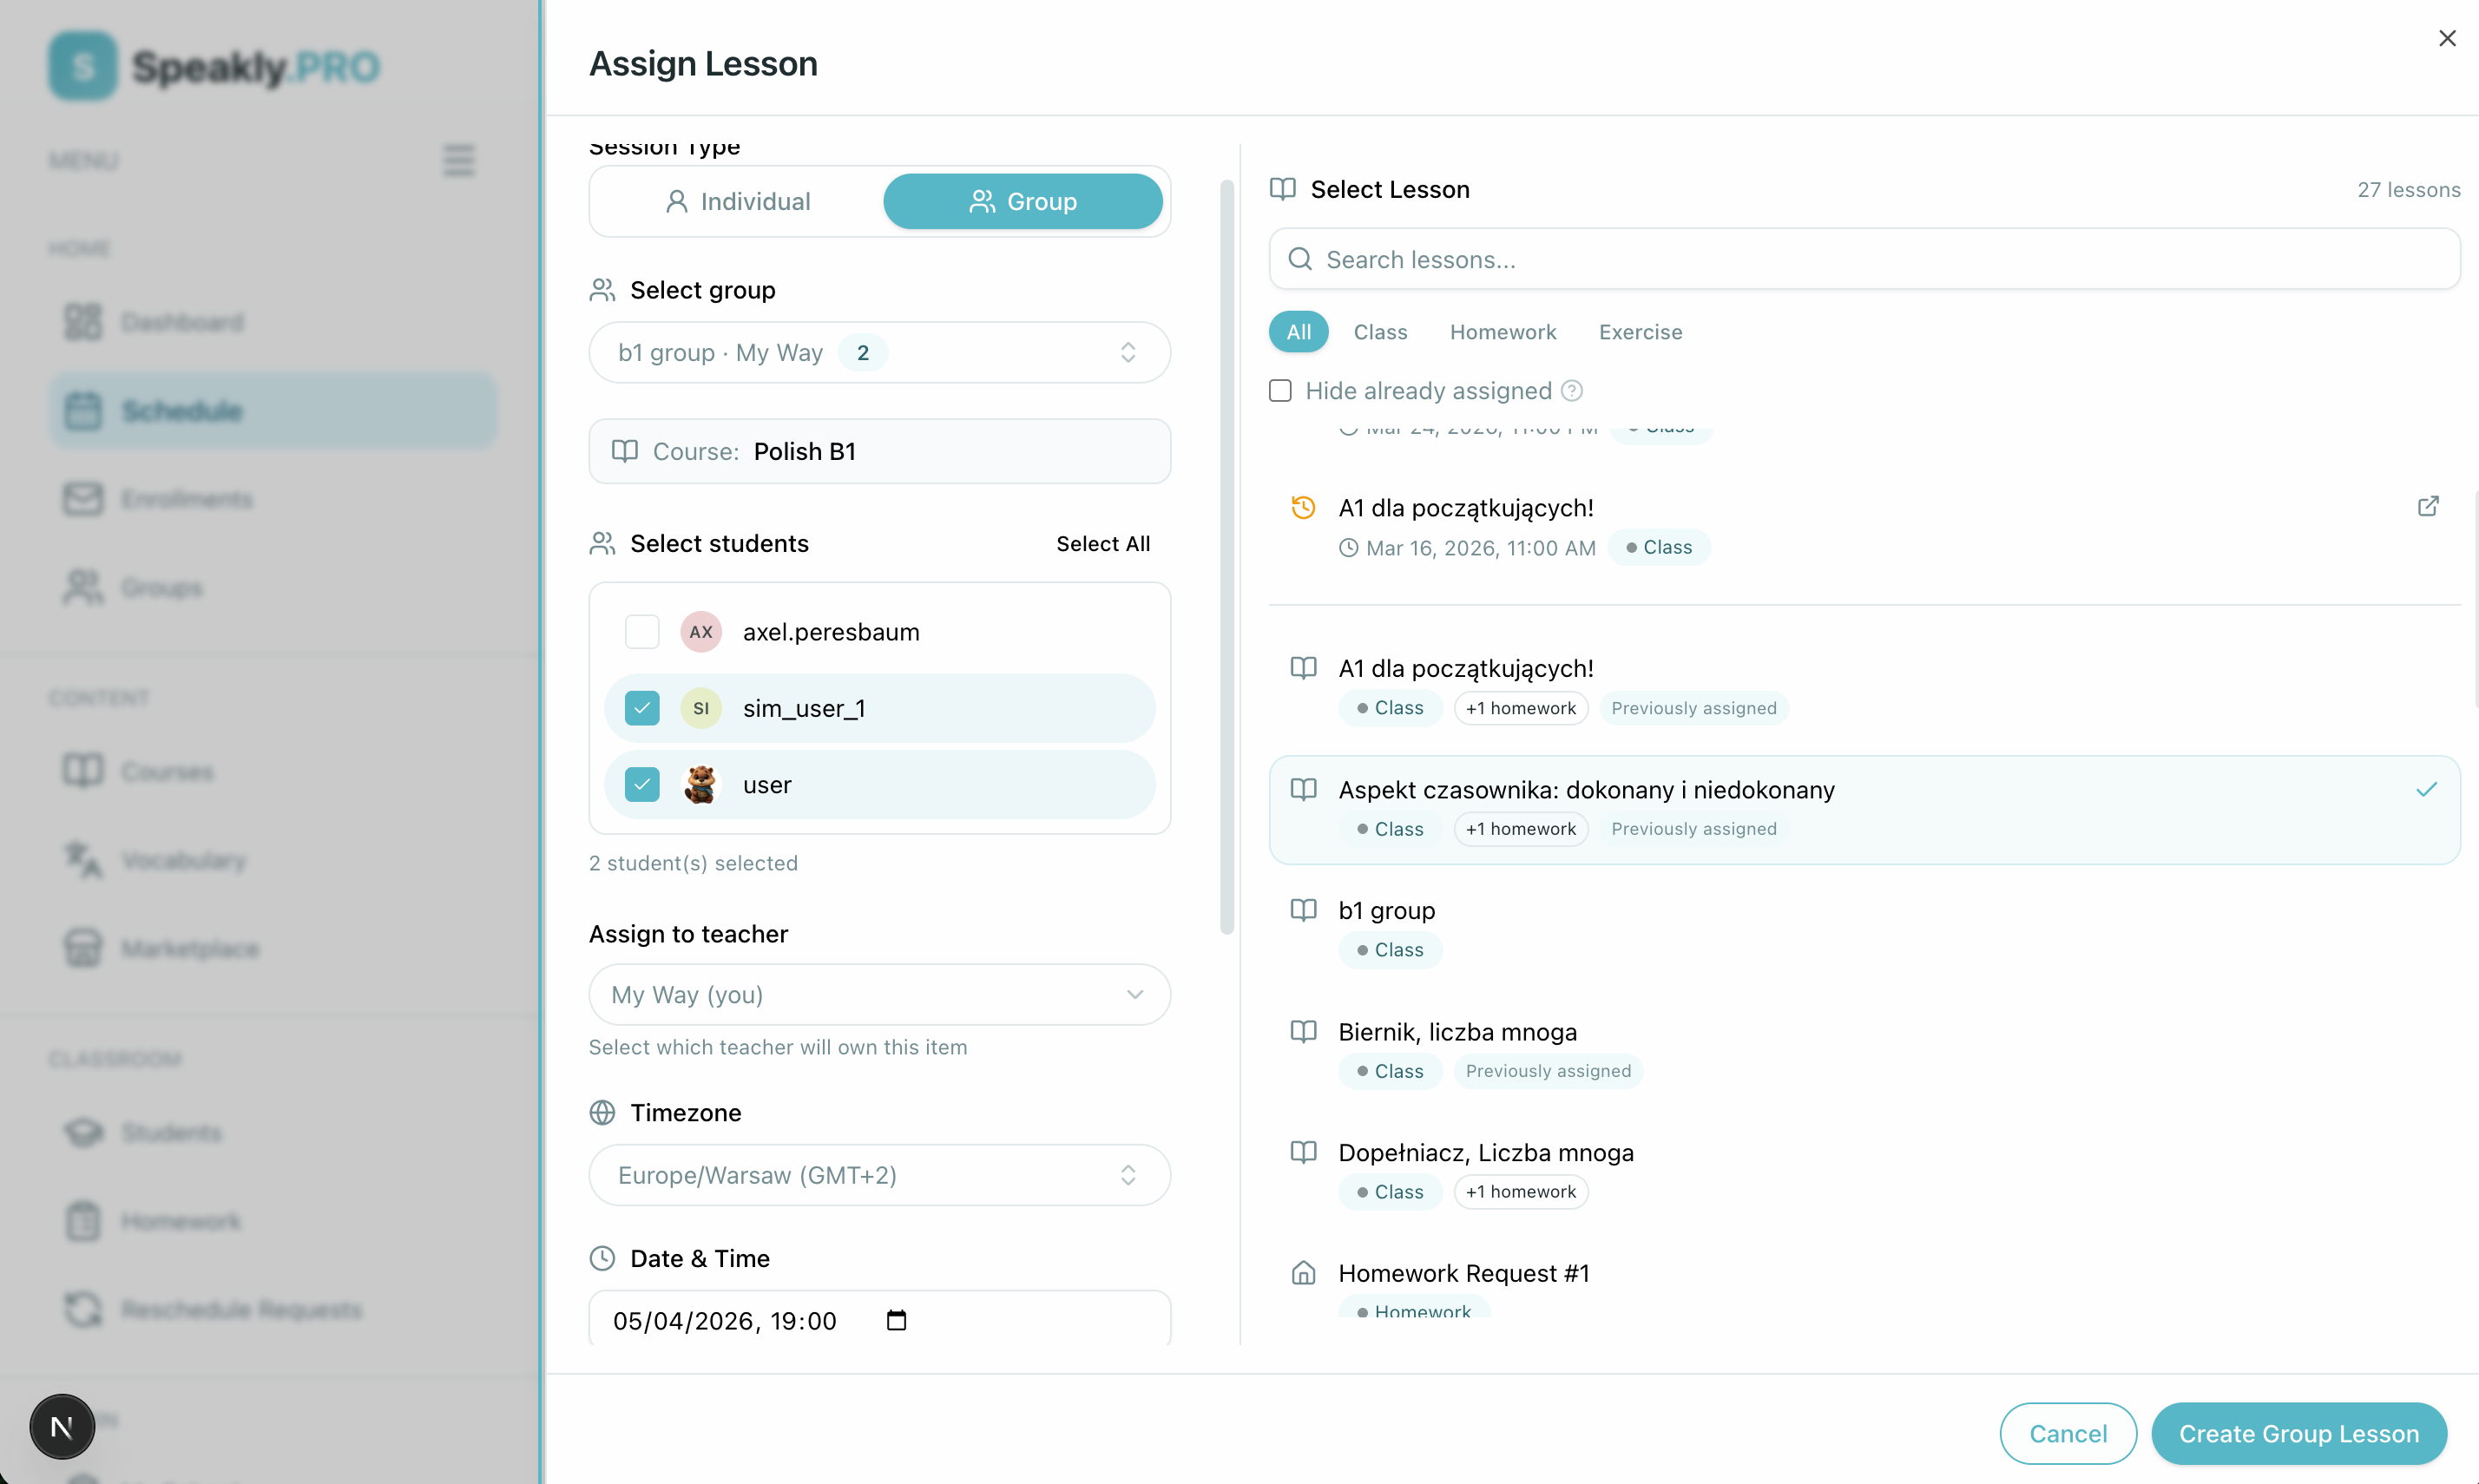
Use Case: Scheduling Group Sessions
How to set up, schedule, and manage group live sessions with multiple students.
Prerequisites
- Active course with enrolled students or a Class Program
- Class created (or students identified for grouping)
- Video conferencing equipment tested
Phase 1: Setting Up Your Class
Step 1: Create a Class with the Four Setup Answers
If you do not already have a class set up, create one using the unified setup dialog.
Navigate to Classes
Go to "Classes" (/platform/groups) in the sidebar. The page header provides access to the school's Program templates library, a Help panel with step-by-step guides and FAQs, and the green + Create class button.
Click "Create Class"
Answer the four setup questions to define your cohort:
- What the class learns: Choose whether the class follows a master course (which automatically appends new course lessons) or assembles custom lessons in a Class Program.
- How students go through lessons: Select With live meetings.
- Meetings with the class: Select Regular weekly meeting days and choose your recurring weekdays and times on the slot board.
- How lessons open: In a live meeting cohort, lessons unlock when you click Start lesson (for self-paced cohorts, choose your release rule and start date).
Then configure general settings:
- Class details: Set class name, subject, avatar image or color swatch, seat capacity, and assigned teacher.
- Video call on the platform: Left ON by default ("The platform opens the video call during the lesson by itself."). Turn it OFF and enter an external video link (Google Meet or Zoom) if you prefer external calling.
- Absent students can open the lesson materials: Turned ON by default so absent students can review completed lesson materials after class.
- Homework due date: Under the Advanced section, specify how many hours before the next class homework must be submitted.
Add Members
Invite students by entering their email addresses, selecting existing school students, or sharing your permanent class link and 6-digit PIN.
Save
Click "Save". Your class appears immediately in the classes list and teaching calendar.

See Classes for detailed class management features.
Step 2: Meeting Duration and Schedule Rhythm
Meeting duration is determined directly by your schedule:
- Weekly slots determine meeting duration: The length configured on your weekly recurring slot (e.g. 45 or 60 minutes) governs the scheduled live classroom. Source course lesson materials no longer carry or override session duration.
- Resizing on move: If you reschedule an unstarted meeting to a slot of a different length, the future live room resizes automatically.
- Adjusting via About the class: You can update your class time zone ("The platform reads the meeting times and the start day in this time zone."), per-day meeting lengths, and opening times by clicking Change on the About the class card. The What changes preview dialog summarizes schedule adjustments and notifies booked students before changes are saved.
- Catalog Bookings: Manage external student booking requests on the Bookings tab with a single toggle: "Allow booking through the teacher catalog on the platform". External student booking requests arrive directly in your conversation thread in Messages (
/platform/messages) as an interactive card.
Phase 2: Managing Upcoming Meetings
Step 3: The Next Lesson Card, Unit Bands & Free Meetings
On your class Lessons tab (?tab=learning):
- Adaptive Next Lesson Card: The hero card displays the unit context line (such as "Unit 2 · Travel · lesson 2 of 6") and updates dynamically:
- New class setup: Prompts with a 3-step checklist (Invite, Choose days, Choose a lesson).
- Free meeting slot: Click "Choose a lesson" to assign curriculum content to that slot.
- Scheduled (> 15 min before start): Click "Enter the room" to review materials before class.
- Starting soon (≤ 15 min before start): Displays an active countdown ("Today, 18:00 · in 10 min") with a green "Start lesson" button.
- Live in progress: Shows elapsed time and live attendance ("4 of 6 students are in the lesson.") with a green "Join lesson" button.
- Unscheduled: Displays "The next lesson is not scheduled. Choose a date, and “…” goes to it." with a "Set a date" button.
- Unit Bands: The plan is organized into unit bands (
Unit 1 · Title) with metadata indicators. Completed units fold cleanly under "Completed · 8 held", and a prominent "Today, [date]" line spans the plan inside the active unit. - Put Lessons on Free Dates: Click "Put lessons on free dates" on the No date section header to map waiting undated lessons onto upcoming calendar slots in plan order.
- Change Lesson: For any unstarted and unopened lesson, select "Change lesson" from the row menu to swap the lesson while preserving its scheduled position, date, and deadline.
- One-Click Meeting Cancellation: If you cancel a meeting in the plan that has student bookings, the confirmation prompt tells you how many students will receive notifications, closes pending requests, and notifies booked students in one click.
Step 4: Group Homework and Tasks
When assigning homework or exercises to a group, each student receives their own individual lesson copy:
- Each student completes exercises independently without seeing classmates' answers.
- Attach Tasks to Class Lessons (
+Add Task): Click the+icon button on any class lesson row in the plan (or choose Add task in its⋯menu) to search for any lesson from any course in your school. Choose how students will complete it:- Homework: "Students hand it in before the lesson on [date], and you review it." The deadline is automatically calculated from your class homework due buffer setting.
- Exercise: "Students do it with no deadline, and you do not review it."
- Detach Tasks (
✕): Attached task rows feature a✕icon button (and "Remove from lesson" in their⋯menu) to detach tasks after confirmation. - Automatic Filing: Homework or exercises assigned to the whole class without an explicit date automatically file under the class lesson that started last.
- On the calendar, individual student sessions are aggregated into a single item showing per-student status badges. Click Manage on the calendar item to inspect each participant's progress or review submissions.
Phase 3: Conducting the Group Session
Step 5: Start Class to Unlock Materials
In live meeting cohorts, lessons and attached homework unlock when the teacher clicks Start lesson:
- Join the room early from the Next lesson card or calendar event.
- Click Start lesson inside the live room. The lesson materials unlock for students immediately.
- If an enrolled student has an inactive seat or paused billing, the platform quietly sets them aside so the teacher can start smoothly for the rest of the cohort (One learner never blocks the class).
- As students enter, their attendance is confirmed automatically.
- If "Video call on the platform" was turned off in Class settings, no platform camera view loads and breakout rooms are hidden; click the green "Open video call" button on the bottom dock to launch your external meeting (Google Meet or Zoom) in a new browser tab.
In-Session Controls:
| Action | How |
|---|---|
| See who joined | Participant list in the session sidebar |
| Mute a student | Mic icon next to their name |
| Individual work | Click Start on an individual work block so students solve exercises privately |
| In-session notes | Click the labeled Notes pill positioned first on the live dock (features a round Send button) |
| Add a late joiner | Share the permanent class link and 6-digit PIN from the Joining lessons side card |
Phase 4: After the Session
Step 6: Post-Session Wrap-Up
Send Finished Class Home
When wrapping up, choose Send as Homework to deliver a clean snapshot of the lesson to attending students for review and to absent students for asynchronous study.
Record In-Session Notes
Use the labeled Notes pill positioned first on the live call dock to capture private notes on individual student performance during class.
Handle Missed Meetings
If a meeting could not take place, the Next lesson card lets you choose Open for students for independent study or Move to the next meeting to cover the topic in your next slot. If "Absent students can open the lesson materials" is enabled, absent students can open the finished lesson document and notes independently from their study schedule.
Related pages
- Classes - Full class management reference
- Class Programs & Learning Plans - Multi-course sequencing and course following
- Live Session Scheduling - Calendar slots and meeting bookings
- Running Live Sessions - Live classroom tools and dock controls