Organization Setup
Create your organization, configure the first operational settings, and invite your first teachers.
Who this is for
Owners and Operations admins setting up a new Locuto.PRO school or turning an existing account into an organization.
What this page answers
- How do I create the organization correctly?
- Which settings matter before teachers start working?
- What is the minimum setup for day one?
Prerequisites
- an account with the Owner role (or administrative access)
- the school name, currency preference, and initial billing owner
School Administration: Owner & Operations Admin
Inside Locuto.PRO, school administration is handled through two key administrative roles:
- Owner: Holds ultimate authority over school settings, branding, domains, and financial accounts.
- Operations admin: Manages day-to-day school operations, teachers, classes, student enrollments, billing, and analytics.
Platform support and infrastructure are handled by the Locuto team. School managers work entirely within their dedicated school workspace.

1. Create the organization
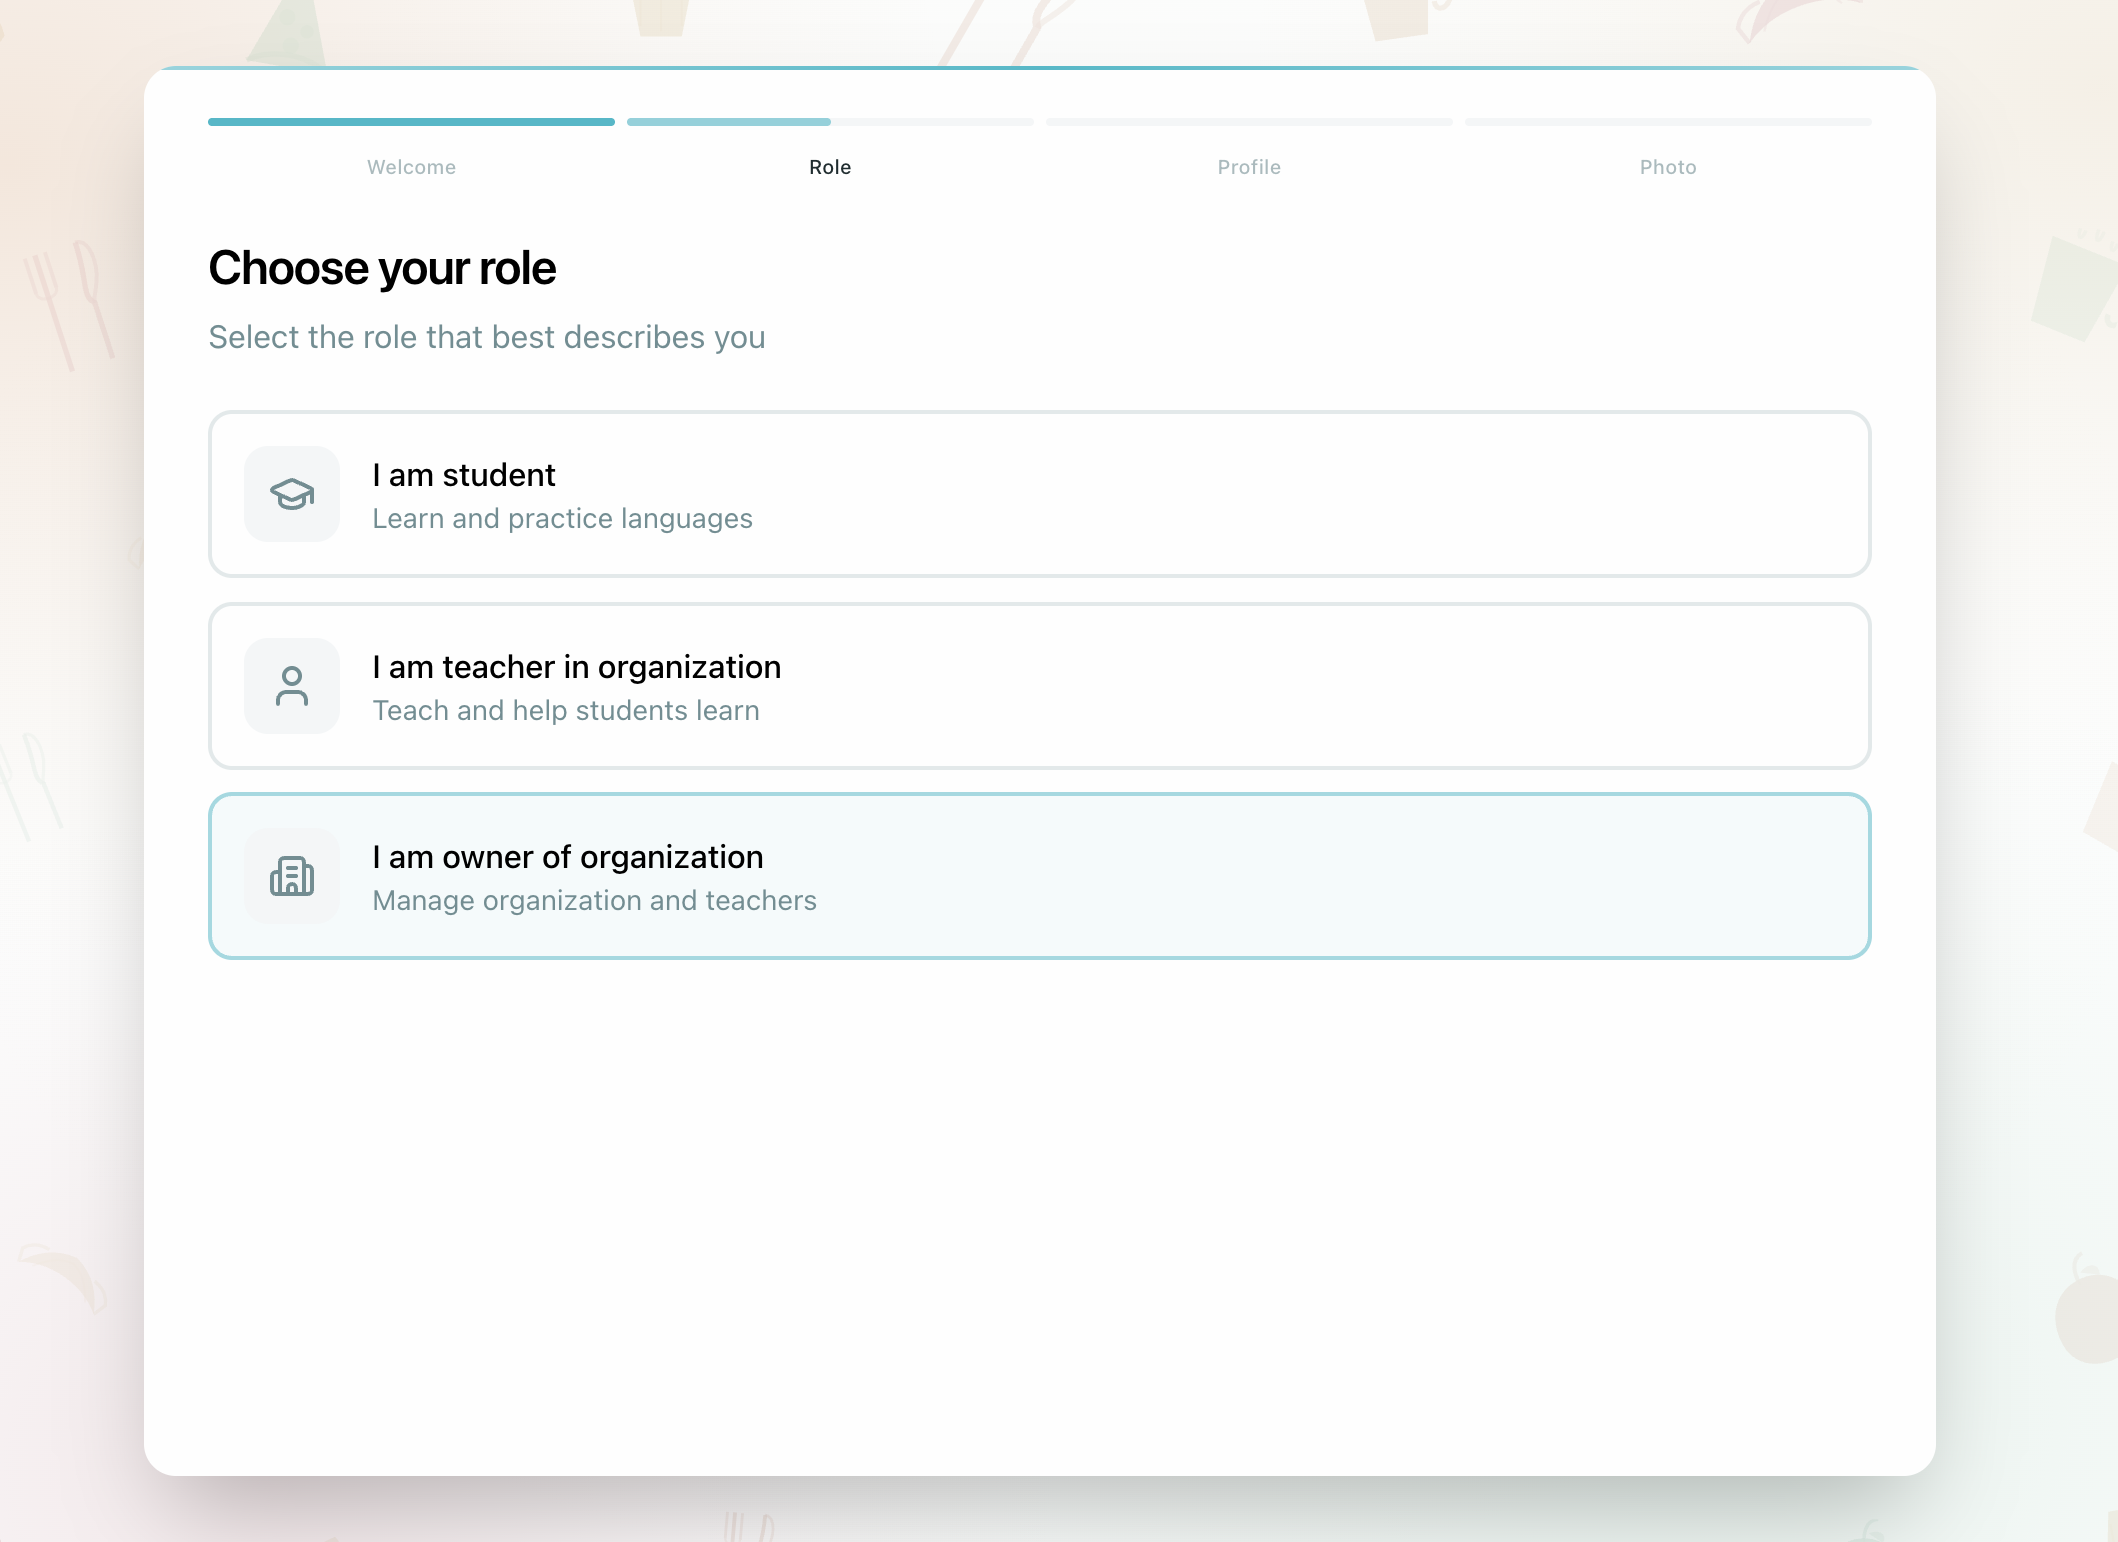
During onboarding, the setup flow is split into two distinct stages to clarify responsibilities:
- Admin stage: Set up your organization name, currency, and core school profile as the school Owner.
- Tutor stage: Complete your teaching profile if you also plan to teach classes within the organization.
Workspace profile: "Solo Teacher" vs. "School Tools"
New organization Owners default to the Solo Teacher Profile during onboarding. Established organizations without an explicitly saved profile default to School Tools.
- Solo Teacher Profile (Default for new Owners) — Simplifies daily navigation by focusing on courses, materials, and students without administrative clutter.
- School Tools — For schools operating with multiple teachers, classes, campus analytics, and staff management.
You can toggle between Solo and School Tools at any time from the bottom of your sidebar. Workspace Profile is a personal presentation preference: it never locks or changes actual account permissions or data.
Goals Hub & Guided Journeys
Under Goals (/platform/goals) in the sidebar, administrators have access to structured, step-by-step journeys:
- Getting Started Journey — Core school configuration checklist.
- Sell a Course Journey — Guides setting up course pricing, Stripe Connect payouts, and marketplace listings.
- White-Label Setup Journey — Step-by-step custom domain, DNS verification, and branded styling configuration.
Each journey highlights prerequisite blockers (such as pending payment connections) and provides direct links to resolve them.
Use the dashboard checklist or Goals Hub to confirm the school setup is complete before inviting the full team.
2. Configure the defaults before inviting staff
Open School settings (/platform/my-school/settings) to configure your organization. This page organizes settings into dedicated tabs:
- General: Set the organization name and Home Target (choosing whether students and visitors land on the Storefront or the Sign In page). A direct link leads to Accounting → Settings (
/platform/my-school/accounting?tab=settings), where Currency display, Default lesson/homework/exercise costs, and Low AI credit balance thresholds are configured. - Branding: Configure your public support email and custom Help link for the branded domain. See White Label.
- Widget theme: Configure the school-wide default appearance for interactive exercises. (See below).
- Lesson transcripts and summaries: Choose the school-wide policy for automated audio transcription and post-session summaries. (See below).
- Notifications: Configure teacher summary recipients and preparation alerts. (Note: The low AI credit balance alert is configured in Accounting settings).
- Permissions: Control what teachers and students can do by default. To set permissions across your team, see School Roles & Permissions.
- AI oversight: Choose how closely a person must check AI-assisted formal assessment results. See AI Oversight and Human Review.
These defaults give teachers a consistent starting point. You can refine them later.
Default Widget Theme
Under School settings → Widget theme, the Owner configures the Default widget theme (Theme for new widgets).
- You can choose from 21 available themes (including Modern, a clean flat style, and Classic, a plain exam-safe theme), defaulting to Built-in theme (Studio). Each theme option displays its accent color swatch dot in the selector.
- Newly inserted or AI-generated widgets across all lessons start in this selected theme (unless explicitly overridden at the course level).
- Existing widgets already created in your lessons preserve their current theme so previous layouts remain unaffected.
Lesson Transcripts and Summaries Policy
Under School settings → Lesson transcripts and summaries (/platform/my-school/settings#lesson-summaries), Owners and Operations admins choose between three school-wide policies:
- Enable everywhere — Transcribes audio and generates post-session summaries for all eligible lessons school-wide.
- Disable everywhere (default for new schools) — Turns off live transcription, student/teacher summaries, and summary emails across all lessons to conserve AI credits, while keeping all previously generated summaries intact.
- Set individually for each class — Follows each class's own Lesson summaries toggle (instant lessons without a class remain off).
Mathematics classes never run audio transcription or summaries, regardless of the school-wide policy.
School AI Cover Styles & Defaults
You can define school-wide visual branding for AI-generated course and lesson covers:
- School Default Style: Choose which of the 8 managed artistic styles (such as Diorama, Watercolour, Flat Vector, or Storybook) serves as the default for new materials created by your teachers.
- Custom School Styles: Configure up to 3 custom artistic style prompts (e.g., matching your school's unique mascot or branded illustration style). Once configured, your custom styles appear in the cover style selector for all teachers in your school.
Settle the AI oversight policy now, not later. It is the one setting here that can stop a certificate being issued: while an AI-assisted result is waiting for a human decision, no certificate can be issued from it. Choosing "review every formal AI assessment" after your teachers have started assessing means deciding how much reviewer time you are committing, mid-term. Only the Owner can set it. See AI Oversight and Human Review.

3. Buy initial AI credit
Go to School usage (/platform/my-school/ai-credits) or Billing (/platform/billing) before teachers begin AI-assisted content work. A shared AI credit balance avoids a blocked first week for lesson generation and other paid platform actions.
4. Invite the first teachers
Open Team (/platform/my-school/team) in the sidebar and choose Invite team member to invite teachers by email address. Each invited teacher should:
- register through the invite link or signup flow
- complete the teacher profile
- watch the provided onboarding videos to get familiar with the platform
- set teaching languages and availability
For the full staff onboarding workflow, continue to Use Case: Onboarding a New Teacher.
Teacher Lesson Summary Recipients
On School settings (/platform/my-school/settings) under Notifications, you can configure where the platform forwards each teacher-facing post-session summary. Every time a class-type live session completes with summaries enabled, one email per lesson is sent to the recipients you list here — useful for academic directors, mentors, or quality reviewers who do not log into the platform.
- Recipient email addresses — up to 20 addresses, one per line (or comma-separated). Leave empty to keep summaries in-app only.
- Translation language override — by default each teacher's summary arrives translated into their own native language. Pick a language here to force every summary into the same language instead, useful when the people reading summaries share a working language that differs from the teaching staff's.
The recipient list receives teacher summaries only. Student summaries still go to the students themselves. If the recipient list is empty, teacher summaries remain visible only to school-wide staff inside the app.

Missing Lesson Material Alerts
On School settings (/platform/my-school/settings) under Notifications, configure Missing Lesson Material Alerts so teachers and admins can see when upcoming lessons do not have prepared material.
Use these alerts before a teaching week starts:
- Teachers can spot lessons that still need content.
- Academic leads, Operations admins, and Owners can monitor preparation across the school.
- Dashboard warnings help teams fix missing material before students arrive.
Missing lesson material alerts are preparation warnings. They do not replace the teacher's own review of lesson quality.
5. Confirm the organization is operational
Before you hand work over to teachers, verify:
- billing is configured
- a shared AI credit balance exists
- default costs are set in Accounting settings
- at least one teacher has joined successfully
Related pages
- Teacher Management for the ongoing staff workflow
- Accounting & Billing for purchases and cost configuration
- Analytics & Reports once the organization is active